

Follow our easy step-by-step guides for mounting
Mounting your bike or surfboard should only take around 15 minutes. See the detailed steps and equipment needed below. PDF instructions are also available to download.
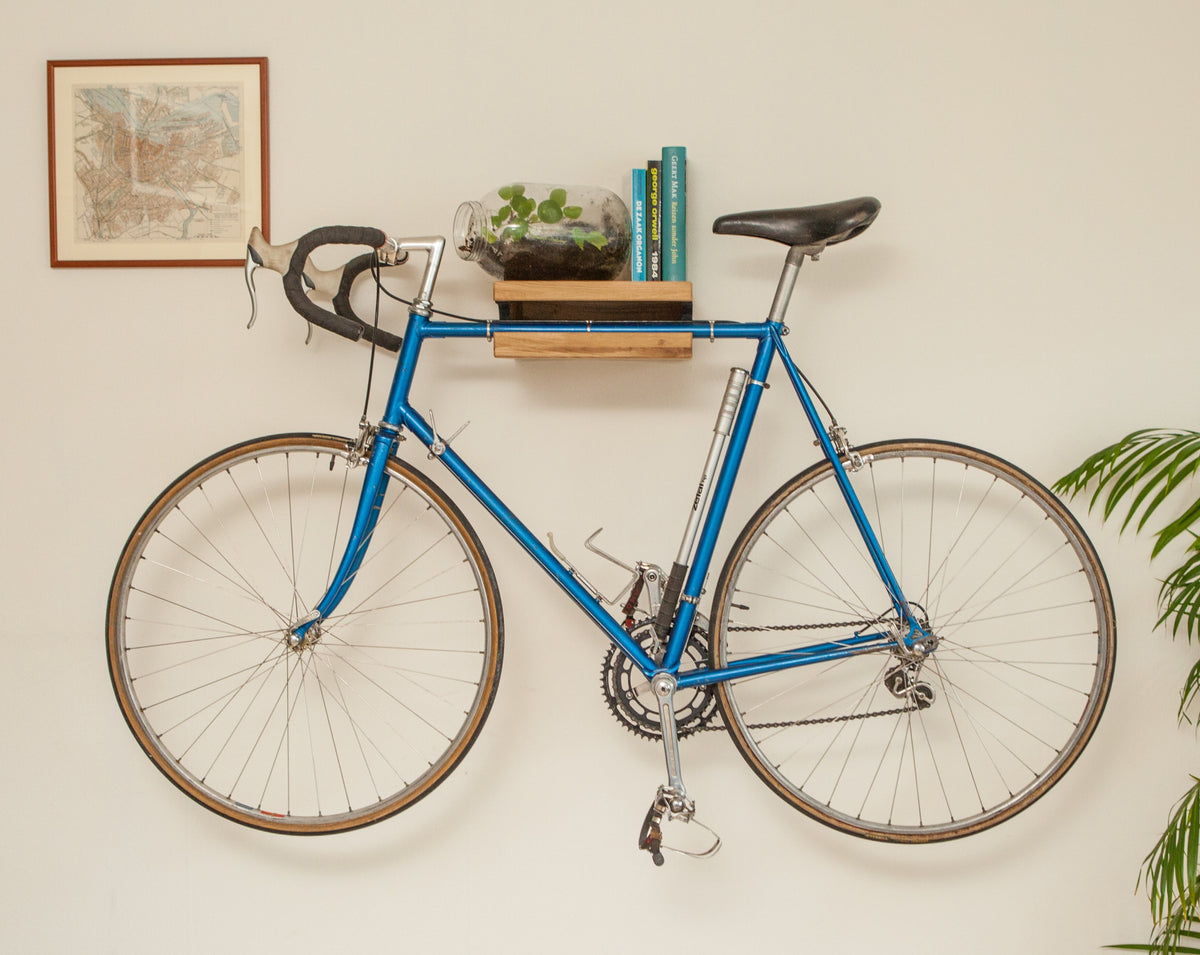
Oak Bike Wall Hanger #1
You will need:
Power drill with an 8 mm masonry drill bit - Spirit level - Screwdriver - Pen or marker - Pipe, cable and stud detector - Plugs and screws (included)
Step 1
Select a section of a load-bearing, masonry wall (not hollow or gypsum).
Step 2
Before drilling, check what's behind the wall with a pipe, cable and stud detector.
Step 3
Place the hanger against the wall where you'd like it mounted, using a spirit level to straighten it.
Step 4
Holding the hanger against the wall (with the spirit level), mark the screw holes on the wall with a pen or marker.
Step 5
Remove the hanger and check the three screw holes are marked correctly on the wall.
Step 6
Drill three holes (8 mm) where you've marked the wall. Make sure to drill perpendicularly into the wall.
Step 7
Carefully insert the plugs into the three holes, making sure they're all the way in.
Step 8
Keeping the lid off, place the hanger back into position against the wall, matching up the holes.
Step 9
Using a screwdriver, screw the screws tightly into the plugs, making sure the hanger is securely in place.
Step 10
Place the lid back on the hanger, lift your bike onto it and decorate to match your home. Now step back and enjoy your new work of art!

Oak Bike Wall Hanger #2
You will need:
Power drill with an 8 mm masonry drill bit - Spirit level - Screwdriver - Pen or marker - Pipe, cable and stud detector - Plugs and screws (included)
Step 1
Select a section of a load-bearing, masonry wall (not hollow or gypsum).
Step 2
Before drilling, check what's behind the wall with a pipe, cable and stud detector.
Step 3
Place the hanger against the wall where you'd like it mounted, using a spirit level to straighten it.
Step 4
Keeping the hanger against the wall (with the spirit level), place your hand inside it and mark the screw holes on the wall with a pen.
Step 5
Remove the hanger and check the three screw holes are marked correctly on the wall.
Step 6
Using a masonry drill bit the width of the plugs provided, drill three holes where you've marked. Make sure to drill perpendicularly into the wall.
Step 7
Carefully insert the plugs into the three holes, making sure they're all the way in.
Step 8
Place the hanger back into position and, using a screwdriver, screw the screws tightly into the plugs.
Step 9
Lift your bike onto the hanger and decorate to match your home.
Step 10
Now step back and enjoy your new work of art!

Beech Bike Wall Hanger #3
You will need:
Power drill with a 12 mm masonry drill bit - Spirit level - Screwdriver - Pen or marker - Pipe, cable and stud detector - Plugs and screws (included)
Step 1
Select a section of a load-bearing, masonry wall (not hollow or gypsum).
Step 2
Before drilling, check what's behind the wall with a pipe, cable and stud detector.
Step 3
Find the two points under your bike's frame where you'd like the poles positioned.
Step 4
Mark these two points on the wall, using a spirit level to keep them level.
Step 5
Using a masonry drill bit the width of the plugs provided, drill two holes where you've marked. Make sure to drill perpendicularly into the wall.
Step 6
Carefully insert the plugs into the two holes, making sure they're all the way in.
Step 7
Screw the poles tightly into the plugs. This takes a little strength.
Step 8
Lift your bike onto the hanger and enjoy!

Beech Surfboard Wall Mount
You will need:
Power drill with a masonry drill bit (the width of the plugs provided) · Spirit level · Screwdriver · Thin screwdriver or screw for marking · Pipe, cable and stud detector · Plugs, screws, wooden brackets and adhesive cork (included)
Step 1
Select a section of a load-bearing, masonry wall (not hollow or gypsum).
Step 2
Before drilling, check what's behind the wall with a pipe, cable and stud detector.
Step 3
Choose where on the wall you'd like the mounts to sit under your surfboard, depending on the length of your board.
Step 4
Hold each mount to the wall and use a spirit level to make sure they're level. Mark the screw holes with a screw or thin screwdriver that fits through the holes in the mount.
Step 5
Remove the mounts from the wall.
Step 6
Using a masonry drill bit the width of the plugs provided, drill all the marked holes.
Step 7
Carefully insert the plugs into the holes, making sure they're all the way in.
Step 8
Align each mount with the holes in the wall, then place the small wooden bracket (provided) horizontally over the hole.
Step 9
Insert the screws and gently tighten them into the mount with a screwdriver.
Step 10
Hide the screw holes with the adhesive cork provided.
Step 11
Stick the remaining adhesive cork on the mount where the board rests.
Step 12
Place your surfboard on the mounts and enjoy!